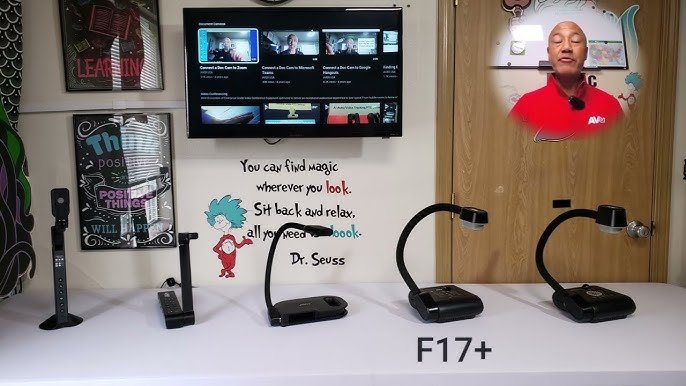
The AVER F17 document camera is great for presentations, lectures, and video calls. To start, you need to know how to link it to your laptop. It has top-notch camera quality and cool features, making it perfect for teachers, presenters, and pros.
It’s key to know the AVER F17’s benefits to use it well. It captures clear images and videos, ideal for many uses. To find out more about the AVER F17 and how to connect it, keep reading.
This article will show you how to connect your AVER F17 document camera to your laptop easily. It’s great for making your presentations or lectures better. By following our easy steps, you’ll get the most out of your AVER F17.
Key Takeaways
- Learn how to connect document camera AVER F17 to laptop for seamless presentations
- Discover the benefits of using the AVER F17 document camera for lectures and video conferencing
- Understand the importance of proper connection for optimal performance
- Get familiar with the AVER F17 document camera’s advanced features and settings
- Maximize your AVER F17 document camera experience with our expert guide
Understanding the AVER F17 Document Camera’s Latest Features
The AVER F17 document camera is a powerful tool for educators and professionals. It offers features that improve presentations and collaboration. Knowing its technical specs, like resolution and frame rate, is key. Recent software updates have also boosted its performance, making it work smoothly with different devices and platforms.
When looking at the AVER F17, its technical specs are important. It has a high-resolution sensor and a fast frame rate for clear video. It also works well with many operating systems and devices, making it versatile. Keeping up with software updates ensures it stays compatible with new devices and platforms.
The AVER F17 is easy to use with various devices and platforms. This makes it great for educators, professionals, and others. By knowing its technical specs, software updates, and compatibility, users can get the most out of it. This enhances presentations and collaboration.
Essential Equipment and System Requirements
To connect your laptop well, you need the right stuff. This includes a laptop that works with your system, a USB cable for the AVER F17 document camera, and any extra software or drivers needed. These are key for a smooth connection.
Make sure your laptop fits the system requirements. Check the operating system, processor speed, and ports. This ensures your setup goes smoothly without problems.
Also, think about your laptop’s storage space. Some software needs a lot of room to work right. Keeping this in mind helps you avoid issues and makes your AVER F17 document camera work better.
Before you start setting up, check if you have everything and if your laptop is ready. This step is crucial for a stable connection and a smooth setup experience.
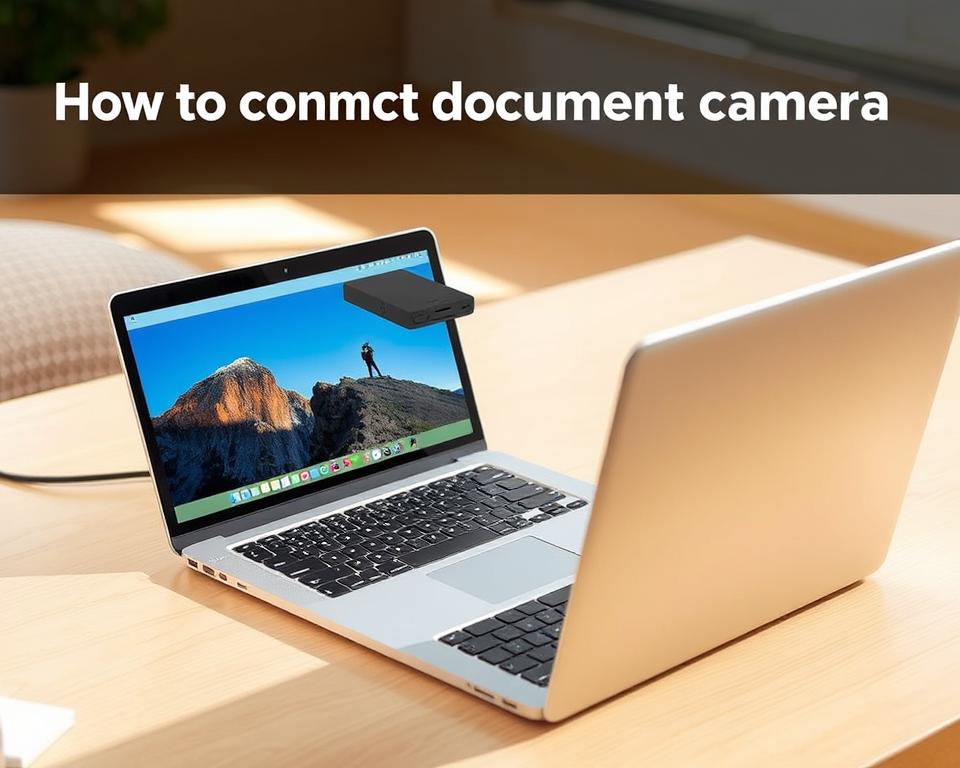
How to Connect Document Camera AVER F17 to Laptop: Step-by-Step Guide
To start using your AVER F17 document camera, you need to connect it to your laptop. This is easy and only takes a few steps. Make sure you have all the cables and equipment you need, like a USB cable or wireless option.
With everything ready, you can start the connection. The AVER F17 has flexible options for connecting, making it easy to fit into your setup. It works well for video calls or presentations.
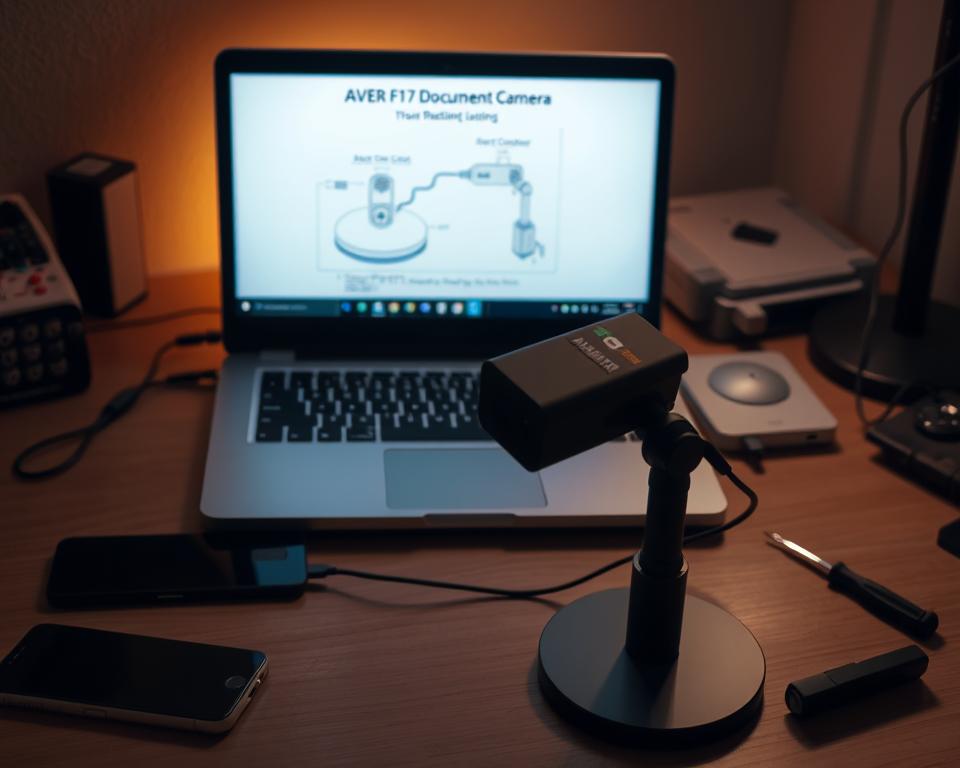
Physical Connection Methods
The AVER F17 can connect to your laptop via USB or wirelessly. This gives you flexibility in how you connect. For USB, plug one end into your laptop and the other into the camera. For wireless, follow the instructions to pair it with your laptop.
Driver Installation Process
After connecting, you’ll need to install drivers. This usually means downloading and installing software from the manufacturer’s site. Make sure to follow the instructions well to avoid problems.
Initial Setup Configuration
After installing drivers, you can set up the camera. This involves adjusting settings for better video conferencing and presentations. Take time to review and adjust settings for the best experience.
Software Installation and Updates
To get the most out of your AVER F17 document camera, you need to install the software and keep it updated. This ensures your device works well and you have the latest features and security. The installation is easy and takes just a few steps.
Keeping your software update is key for your document camera’s performance and security. Updates often bring bug fixes, new features, and improvements. By staying updated, your AVER F17 document camera will continue to meet your needs and offer the best experience.
Following the manufacturer’s instructions for software installation and updates is crucial. This avoids any issues and ensures a successful process. By installing the necessary software and keeping it updated, you’ll enjoy a seamless and productive experience with your AVER F17 document camera.
Software installation and updates are essential for keeping your document camera compatible with other devices and systems. Staying current with the latest software releases lets you use new features and improvements. This helps you work more efficiently and effectively, whether for presentations, meetings, or other uses. Regular software updates will help you get the most out of your device.
Optimizing Your Camera Settings
To get the best image quality from your AVER F17 document camera, you need to tweak your camera settings. This means adjusting different parameters to make sure your images are clear, well-lit, and high-resolution. Doing this will improve the quality of your presentations, lessons, or meetings.
When it comes to camera settings, resolution is key. A higher resolution means clearer and more detailed images. But, you also need to consider lighting and focus for the best results.
Customizing Resolution Settings
Changing your resolution settings can greatly affect your image quality. By adjusting the resolution to fit your needs, you can make sure your images are clear and detailed. This is crucial when working with documents, diagrams, or other visual materials that need high clarity.
Mastering Focus and Zoom Controls
Focus and zoom controls are also important camera settings to get right. By tweaking these, you can ensure your images are sharp, well-focused, and perfectly framed. This is especially important for small or intricate objects, where precise focus and zoom control are essential.
Troubleshooting Common Connection Issues
Connecting your AVER F17 document camera to your laptop can sometimes go wrong. We’ve got some tips to help you fix these problems fast. Poor image quality is a common issue. It might be due to low lighting or wrong camera settings.
Adjusting the lighting and tweaking camera settings can help. This way, you can get better images and results.
Connectivity problems are another common issue. They can be frustrating and take a lot of time to solve. To fix these, try restarting your laptop and camera. Make sure all cables are plugged in well.
Updating your camera drivers or software can also help. These steps can quickly solve common connection problems and get you back to work.
Being proactive can help avoid these issues. Regularly update your software and drivers. Clean the camera lens and check for loose connections.
With these tips and precautions, your AVER F17 document camera will work smoothly. You’ll have a seamless connection between your camera and laptop. This ensures you get the most out of your camera.
Advanced Features and Functions
The AVER F17 document camera has many advanced features. These can make your teaching and presentations better. You can record high-quality video and audio with its advanced recording capabilities.
These recordings are great for online courses, meetings, and presentations. You can also show multiple images or videos at once. This makes it easy to compare different ideas.
The camera also has tools for adding text, drawings, and more to your recordings. These tools help highlight key points and make lessons more interactive.
Using these features, you can make the most of your AVER F17 document camera. Your lessons will be more engaging and interactive. This helps your students learn better.
Best Practices for Classroom Integration
Effective classroom integration is key for a lively and interactive learning space. The AVER F17 document camera is a great tool for improving student learning and teamwork. Teachers should use creative teaching methods that make the most of the camera’s features.
Teachers can use the camera to show detailed diagrams, explain science concepts, or display student projects. This method helps students understand better and feel part of a community. It also makes them more active in class.
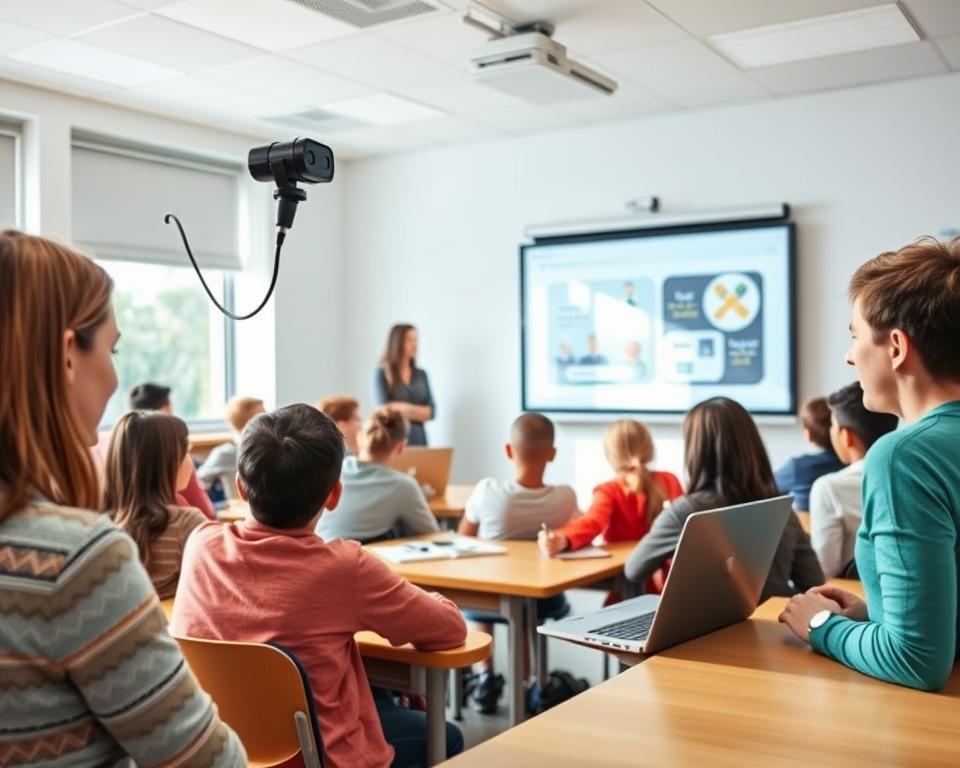
Good classroom integration needs smart teaching techniques. Teachers should mix old-school methods with new tech. This way, they meet different learning needs and boost grades. The AVER F17 camera helps by adding visual, sound, and movement to lessons.
Teachers should also use strategies that put students at the center. This makes them more involved and motivated. The AVER F17 camera is great for this, helping to make lessons more engaging and interactive.
Maintaining Your AVER F17 Document Camera
Keeping your AVER F17 document camera in top shape is key. Cleaning the lens, camera body, and cables is important. This helps avoid damage and makes your device last longer.
To clean your camera, use a soft cloth and stay away from harsh chemicals. For the lens, a microfiber cloth is best. Also, check and maintain your cables often to prevent damage and ensure they work well.
When you store or move your camera, be gentle. Use a protective case or bag to avoid scratches and harm. Following these easy maintenance tips will keep your AVER F17 document camera working well and giving you great images.
Regular maintenance is a must to keep your document camera running smoothly. Remember, taking good care of your camera is crucial for its performance and longevity.
Compatible Software and Applications
The AVER F17 document camera works well with many software and apps. It’s easy to add to your current setup. It’s great for teaching and presentations, no matter the platform.
It’s compatible with lots of apps, like video conferencing and presentation tools. This makes it perfect for sharing documents and images online. It’s great for remote teaching and presentations.
The AVER F17 also fits well with learning management systems. This makes it easy to share educational content. It helps teachers create engaging lessons and students access more resources.
Recommended apps include Zoom, Skype, and Google Meet, plus PowerPoint and Keynote. Using these, you can get the most out of the AVER F17. It will help you improve your teaching and presentation skills.
Conclusion: Maximizing Your AVER F17 Document Camera Experience
Now you know how to maximize your experience with the AVER F17 document camera. This guide has given you the knowledge and skills to do so. You can now use this tool to its fullest potential in teaching, presentations, and video calls.
Make sure to adjust your camera settings often and fix any connection problems. Also, try out the camera’s advanced features like recording and annotating images. Using the AVER F17 can make your work easier and more engaging. Keeping it updated will also keep it reliable and modern.
See the AVER F17 document camera as a key tool in your work. With what you’ve learned, you can get the most out of your AVER F17 experience. Your presentations, lectures, and team meetings will improve greatly.